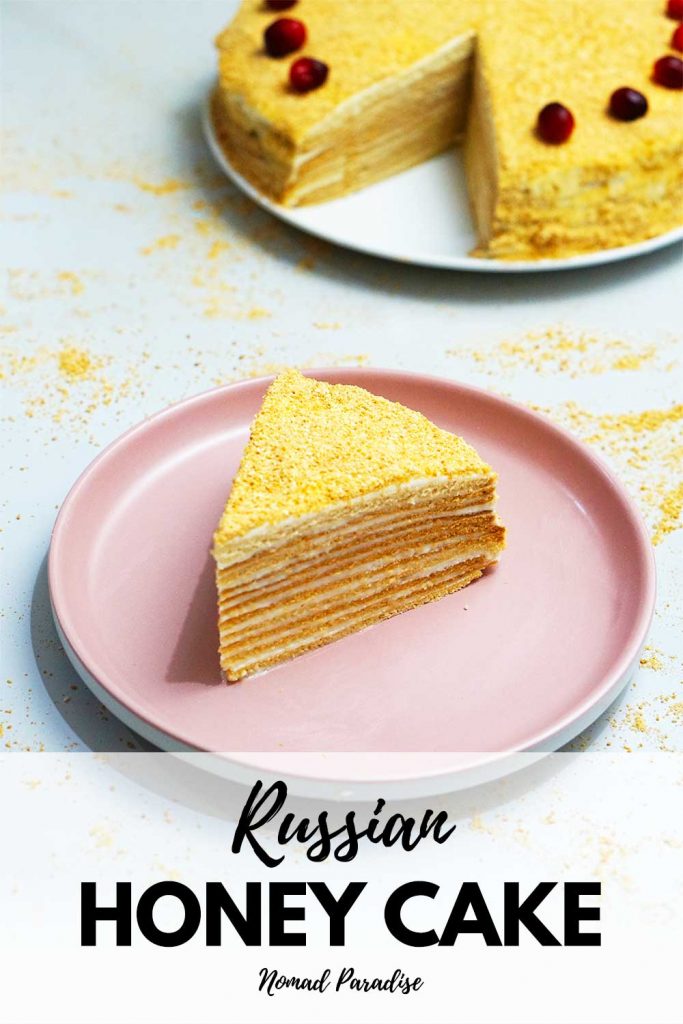
11-Layer Honey Cake Recipe (Medovik)
This honey cake (Medovik / Медовик) is a staple of many cuisines of countries that used to be part of the Soviet Union. It’s utterly beautiful to behold and layered with creamy goodness.
It used to be (and still is) very popular in Moldovan cuisine, Ukrainian cuisine, and, of course, Russian cuisine.
Growing up in Moldova, this honey cake and Napoleon cake were the two cakes my family always made for every birthday and every holiday.
While it can involve a bit of work, the result is absolutely stunning and delicious.
11-Layer Russian Honey Cake (Medovik): Process and Step-by-Step Photos
Honey Cake (Medovik) Frosting
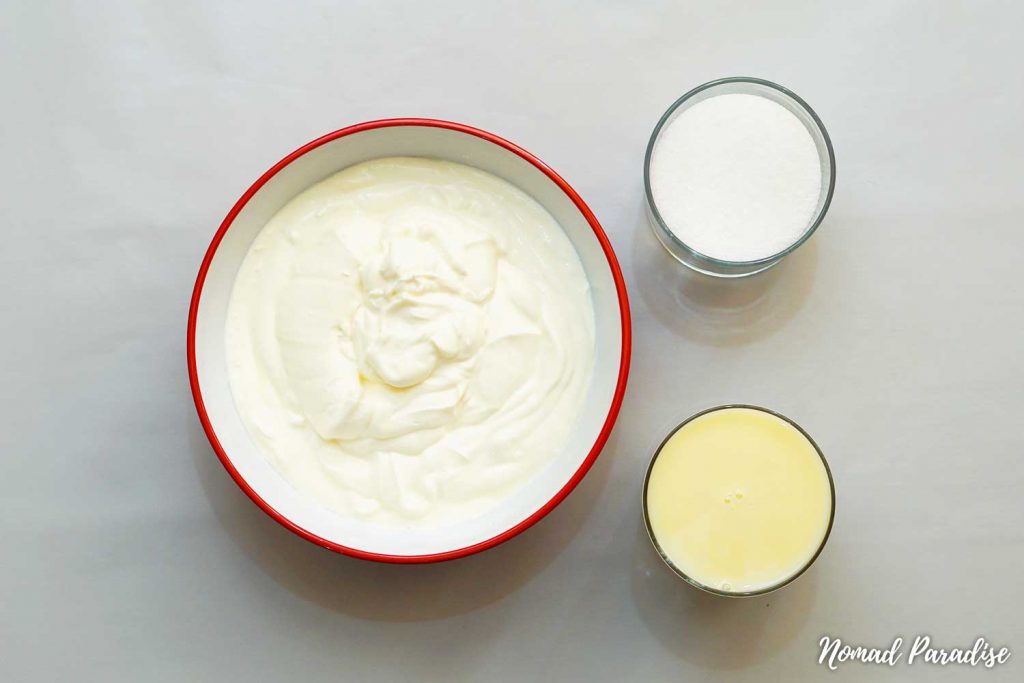
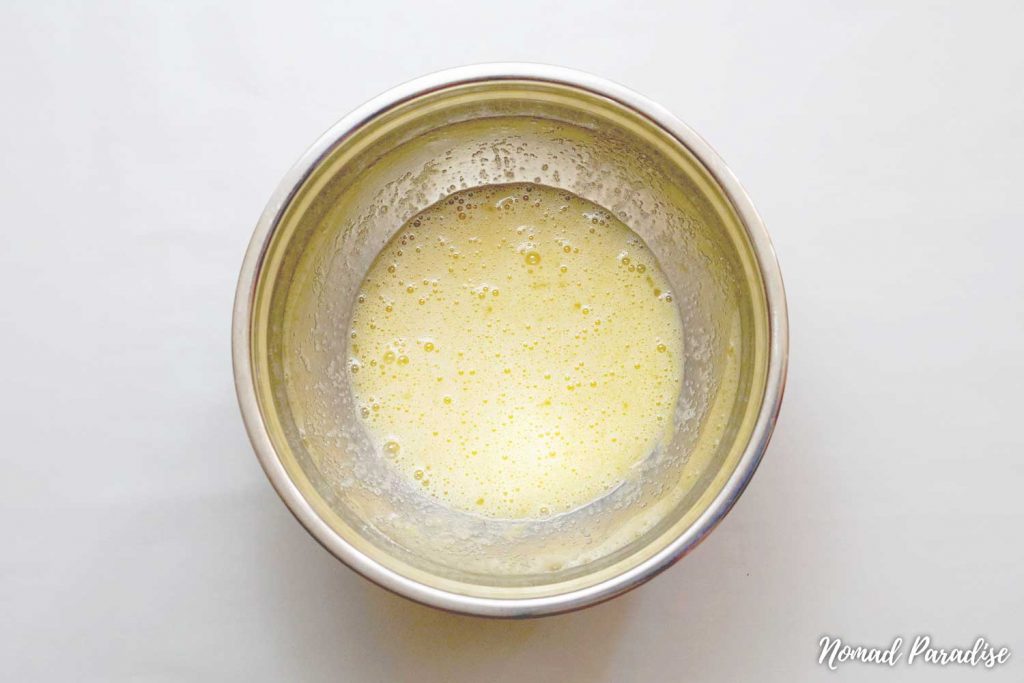
I always like to start off this recipe by making the filling/frosting for the cake to let the flavors meld.
In a big bowl, mix 1000 ml (35 oz) of full-fat sour cream or crème fraîche with 200 grams (1 cup) of sugar and 1 can of condensed milk (397 grams or 14 oz).
In my opinion, sour cream in the United States tastes quite differently to the Eastern European sour cream or even the one found in the United Kingdom.
Hence, when making this recipe in the U.S., you will get a slightly different result than you would in Europe.
I find that crème fraîche in the U.S. is similar to the sour cream found in Eastern Europe, so I would recommend using crème fraîche instead of sour cream if you’re making this in the States.
Once you’ve mixed the 3 ingredients, cover the bowl and refrigerate it until you’re ready to frost the cake.
Honey Cake (Medovik) Layers
With your frosting chilling in the refrigerator, it’s time to move onto the next step of making Medovik: creating the layers.
The batter for the honey cake layers is usually made over a bain-marie/water bath (double-boiler) because you want to make it over very-very low heat.
You can make it without the double-boiler, but you have to be careful to use very-very low heat and work super fast as not to cook the eggs.
Or you can make your own double boiler using whatever you have on hand. For example, I used boiling water in a saucepan and used an Ikea metal bowl over the steam in the saucepan to create a makeshift double boiler for the dough.
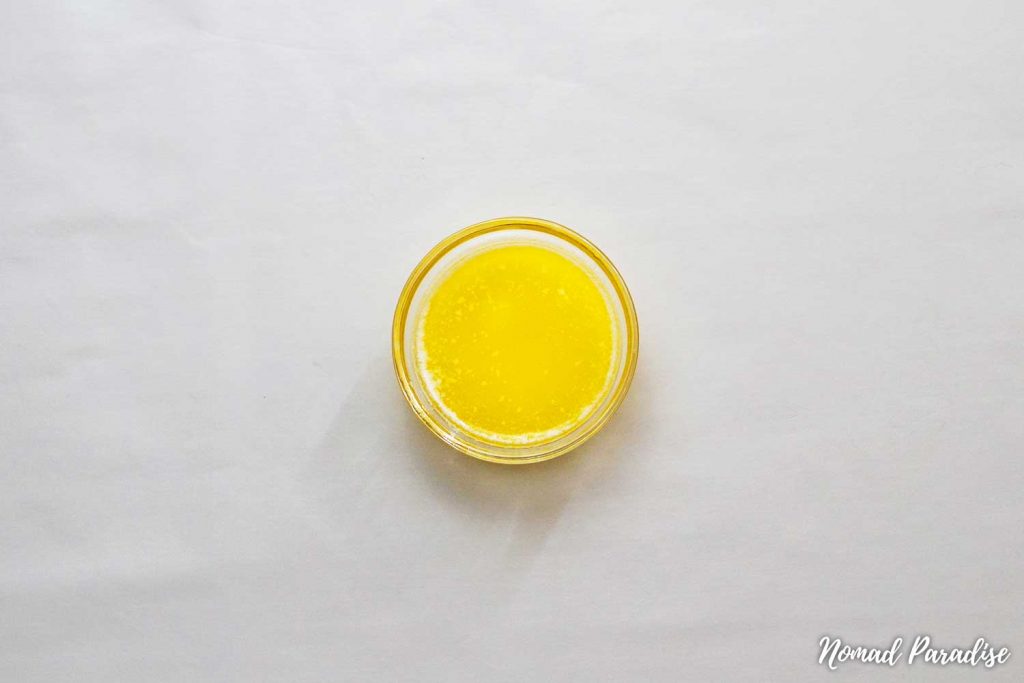
Once you’re happy to begin, in a small bowl, melt 3 tbsp of unsalted butter and set aside.
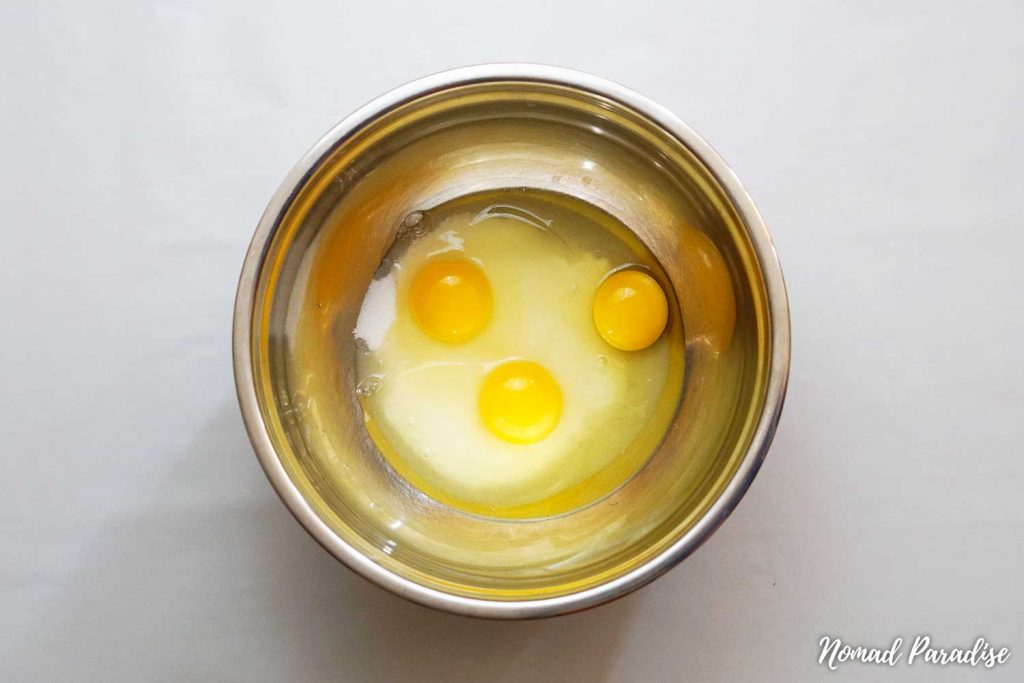
In a mixing metal bowl, beat 3 eggs and 1 and 1/4cup (250 grams) sugar.
Put this in your double boiler, and, while stirring with a wooden spoon, add 1 tbsp of baking soda (not baking powder!), the 3 tbsp of melted butter, and 3 tbsp of honey. Mix it all very well.
After that, start incorporating the 3 cups of flour (1/2 cup of flour at a time) while mixing well with the wooden spoon.
After that, pull the dough off the double-boiler and let it cool down. You’ll get a dough similar to the one below.
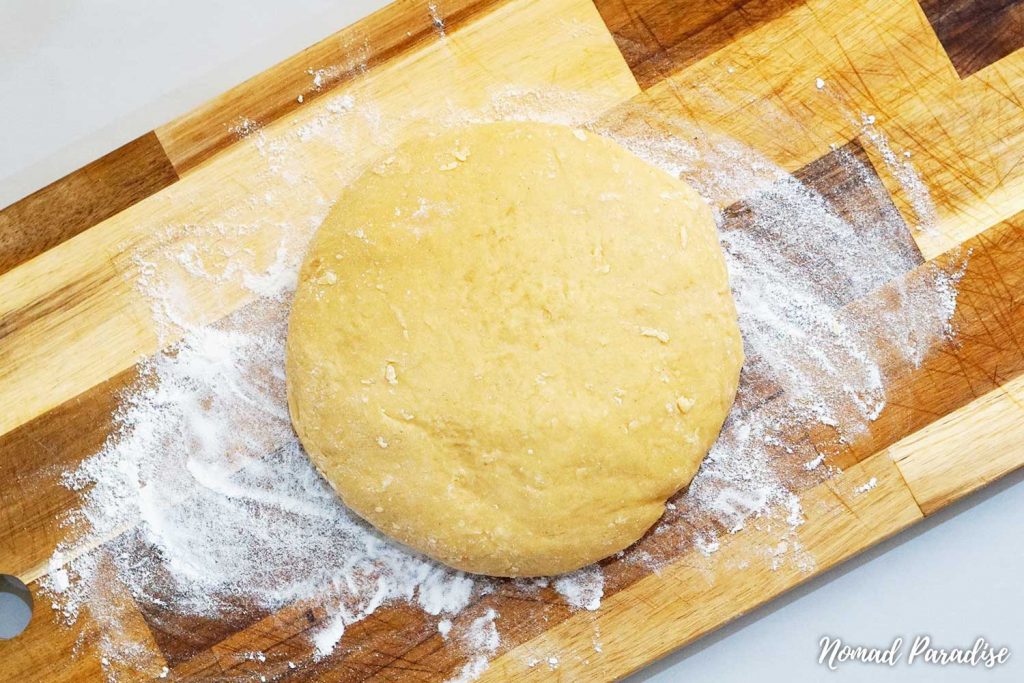
Split it into 12 equal pieces and roll them into balls (only 10 pictured below as the missing two were already baking in the oven).

Now, using a rolling pin. roll each ball into a very thin layer and cut it using a cake ring or cake pan (the size is up to you). Don’t throw away the scraps.
If you don’t have a cake ring or pan, just use a plate to create the shape and cut around it with a knife for a perfect circle.
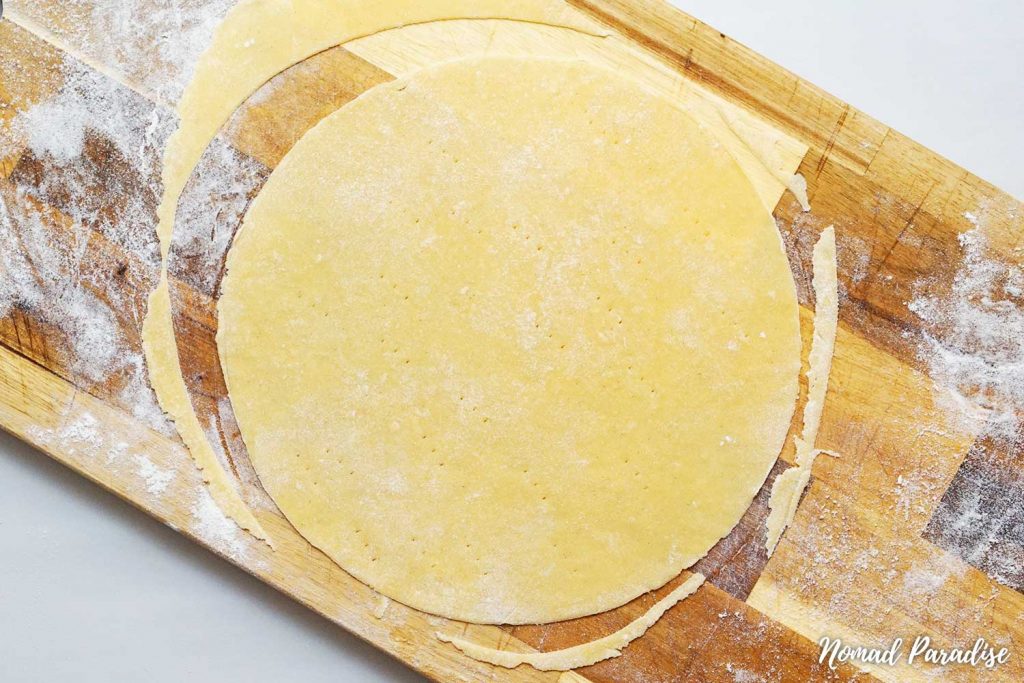
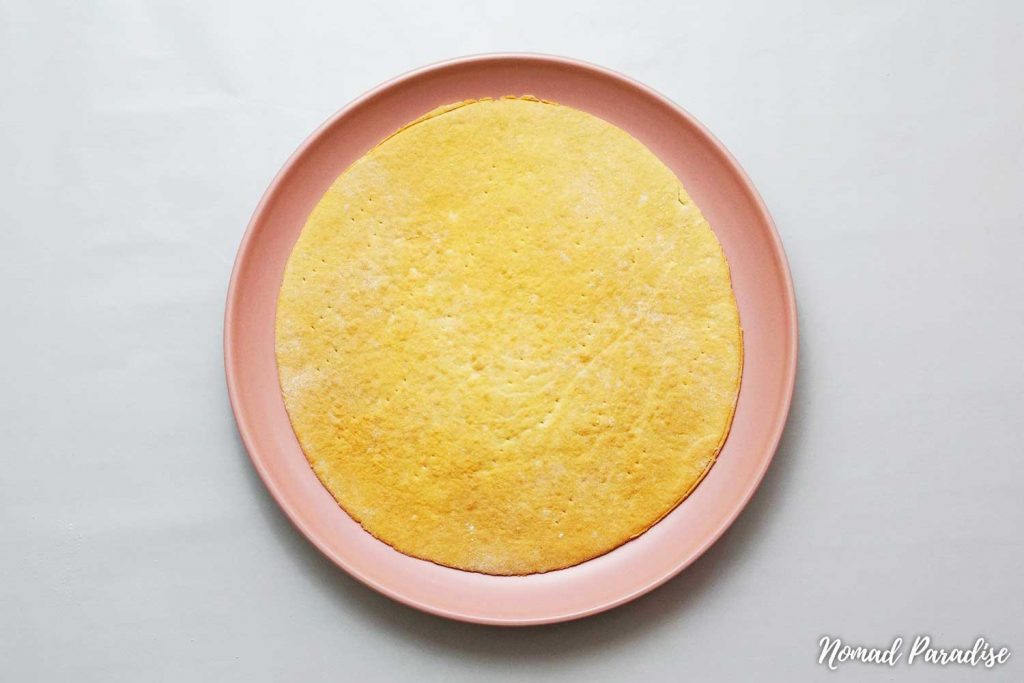
Put the layer and the scraps on a baking sheet or cookie sheet, pierce the layer with a fork a few times (so it doesn’t puff up), and bake for 3-4 minutes in the oven at 390 degrees Fahrenheit (200 degrees Celsius) until the layer looks golden-brown.
Repeat with the rest of the layers until you’ve baked all 12, stacking them on top of each other. Set them aside to rest and completely cool down.
Honey Cake (Medovik) Assembly
Before you start assembling the cake, make sure the layers have cooled down completely!
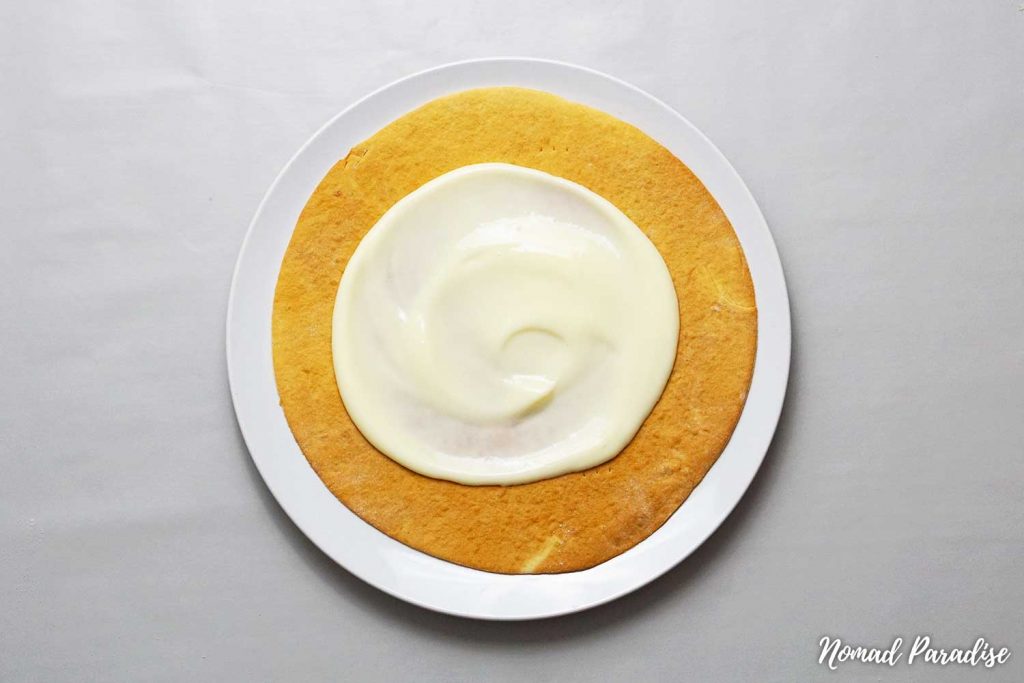
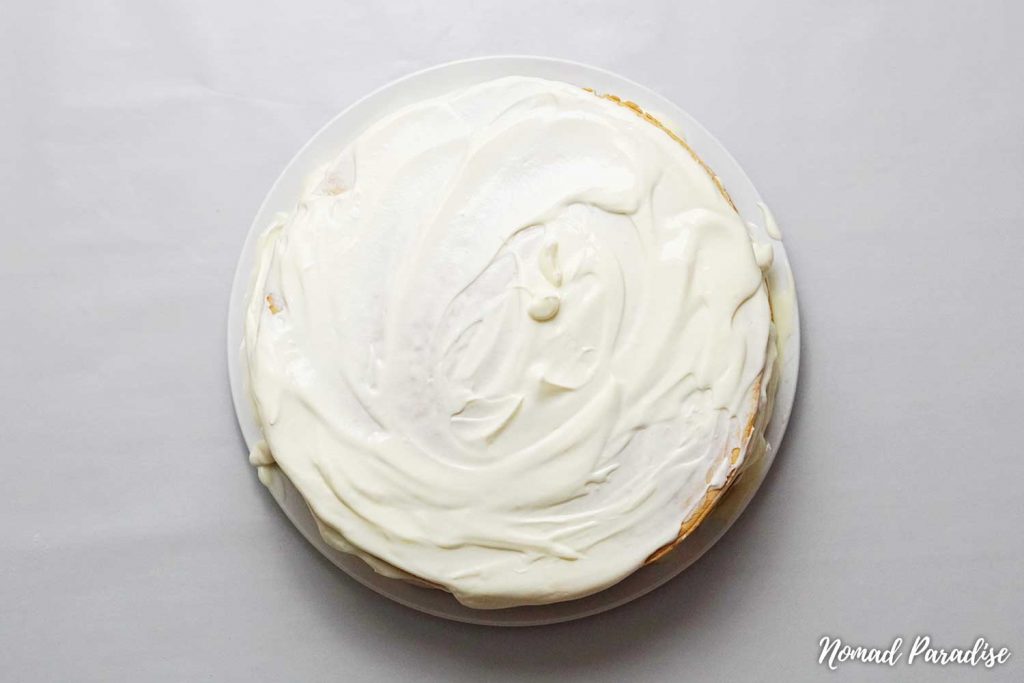
Spread about 6 tablespoons of frosting on each layer, distributing it equally and covering the whole layer. Put the second layer on and repeat this process, using a total of 11 layers (saving 1 of the 12 you made for later). You should also have a little leftover frosting saved for later.
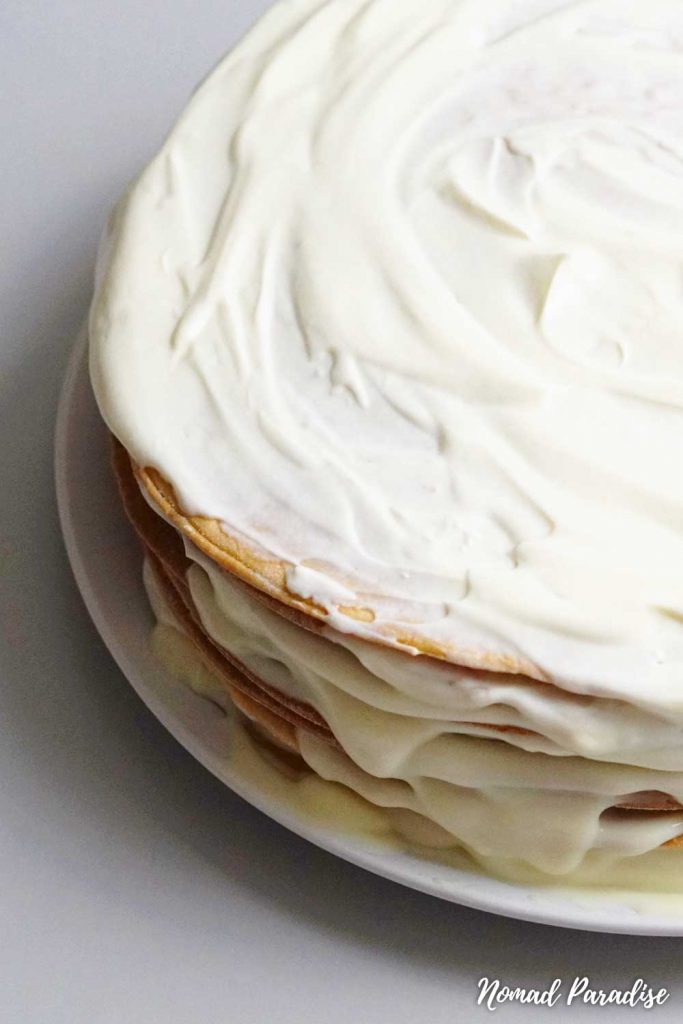
Once you’ve assembled the cake, cover it with some cling film and refrigerate it overnight before decorating it.
Honey Cake (Medovik) Decorating
After the cake has rested overnight (in the refrigerator), it’s time to decorate your sumptuous honey cake.
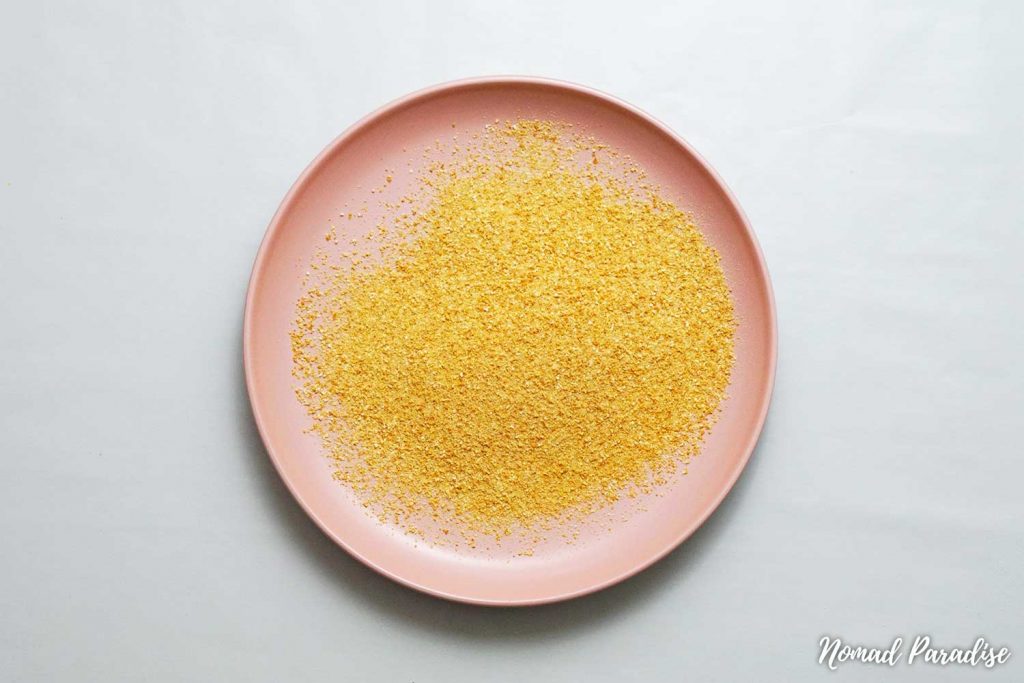
Remember the scraps we cooked with our layers? You should have them resting in a bowl. And remember the spare layer? Take the spare layer, and break it apart. Add the pieces to your collection of scraps. Put it all in a ziploc bag and using a rolling pin, crush them to crumbs.

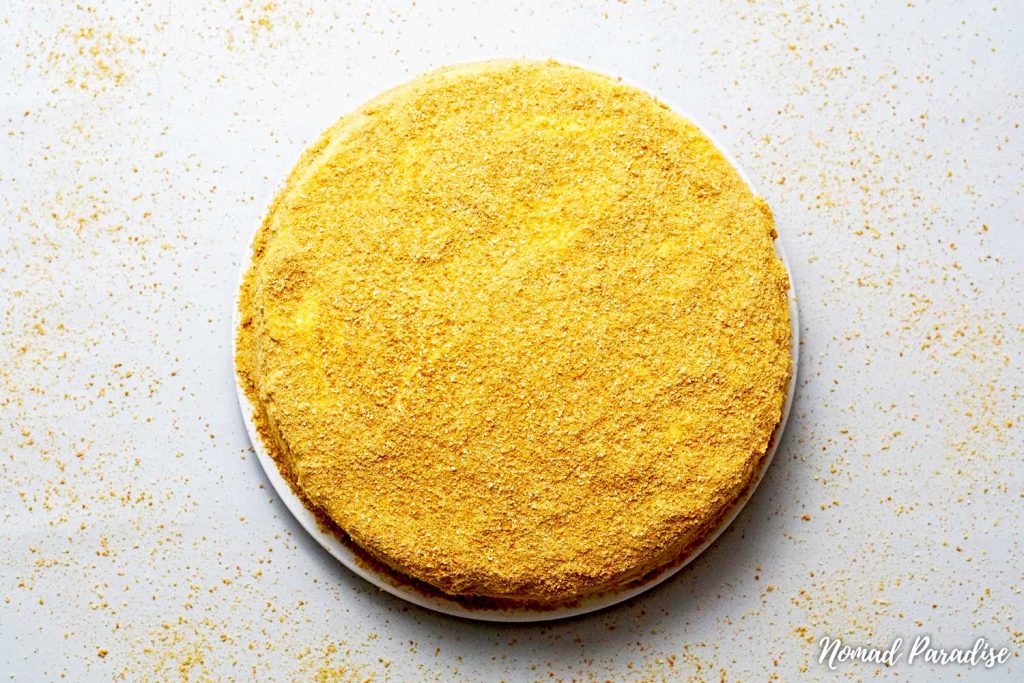
I sifted the crumbs to get a magnificent crumbly powder, perfect for dusting the cake, like the one below.
Now it’s time to add that iconic golden-yellow layer. With your cake well-rested, cover it with the remaining frosting. Then, dust both the top and all sides with the beautiful golden crumbs.
Finally, leave as is, or decorate with fruit such as strawberries or raspberries.

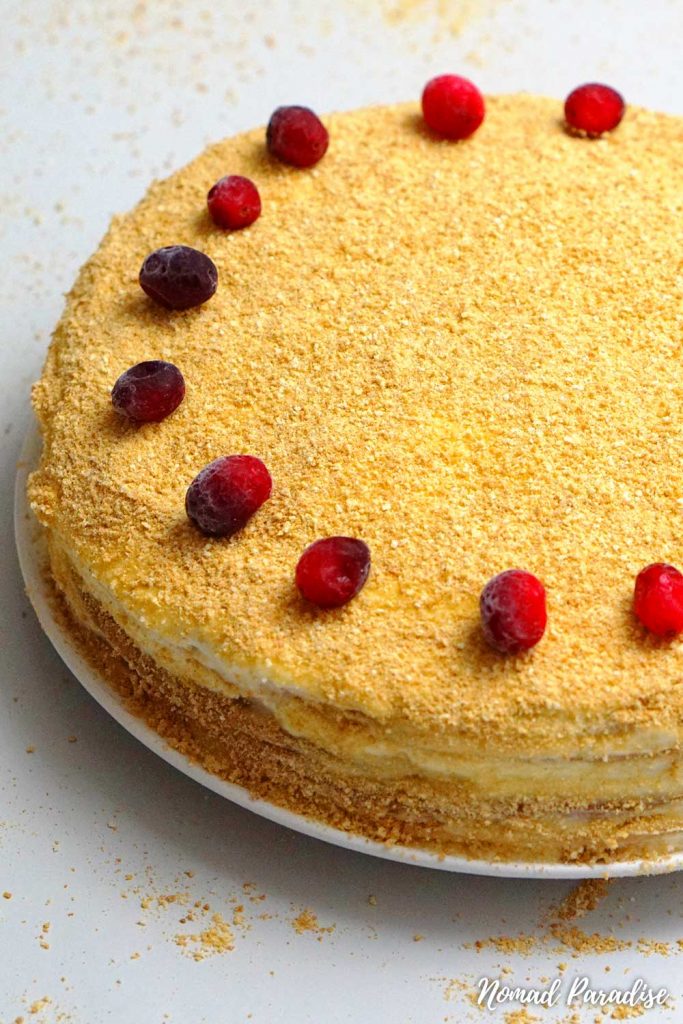

What an absolute treat! Russian honey cake, with its rich, golden, crumbled exterior, really is a work of art.
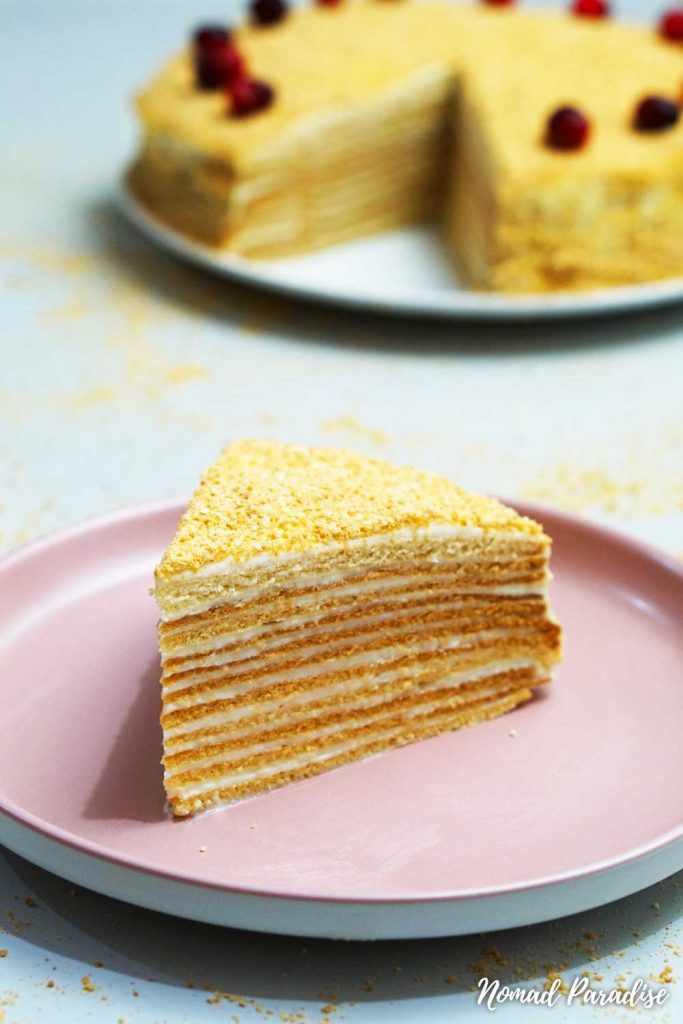
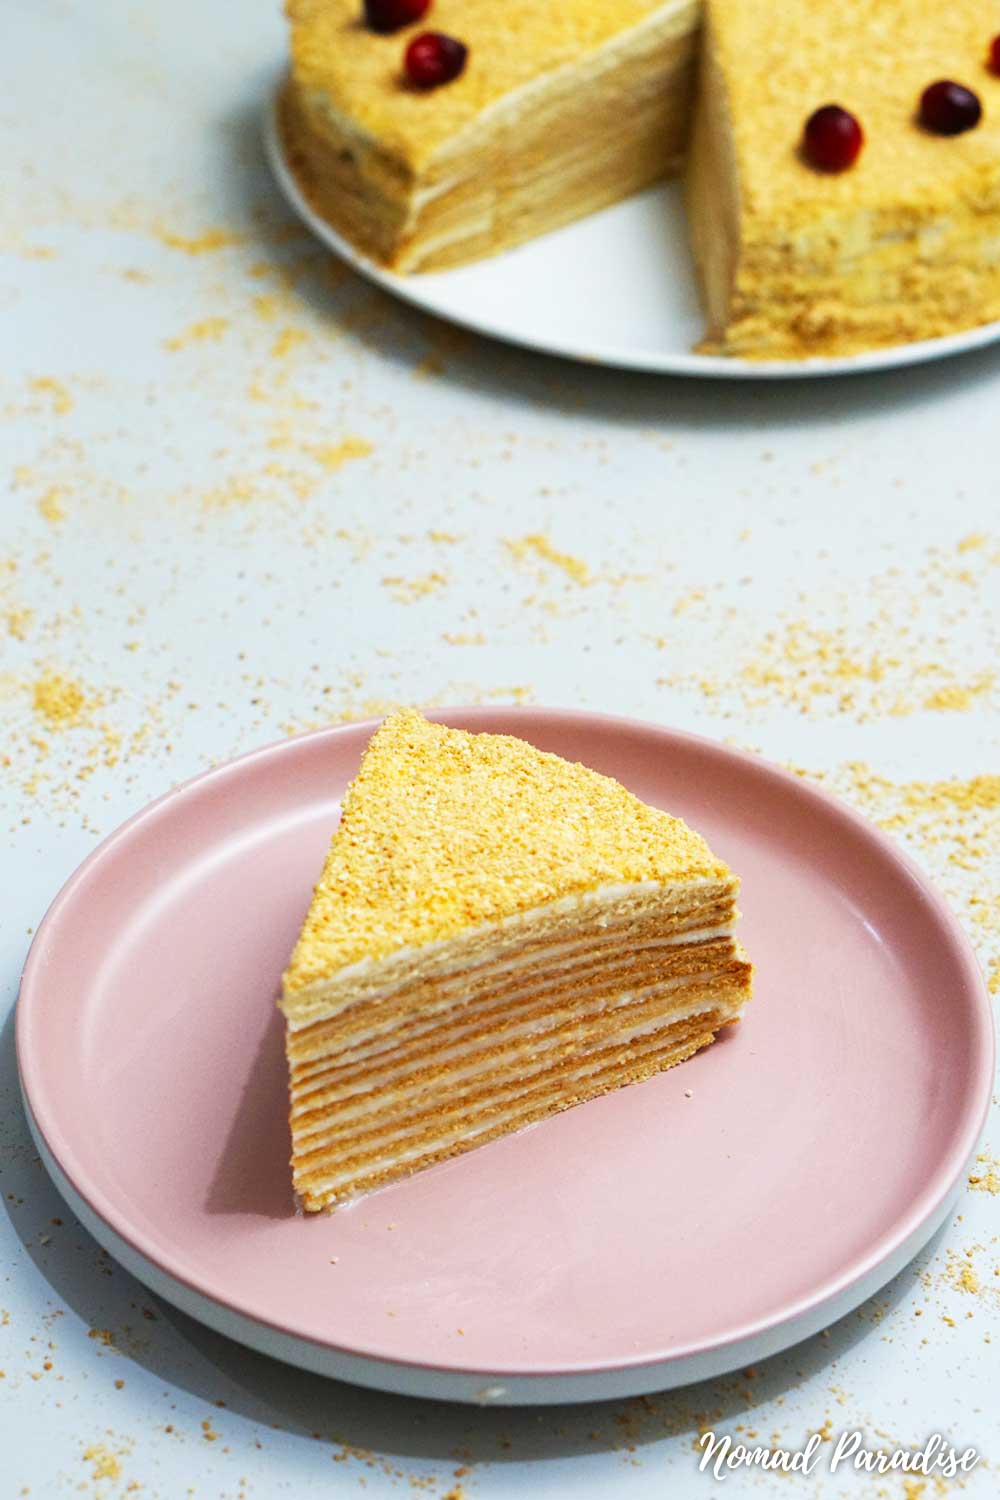
Then, you cut in, and are treated to a delightful assembly of melt-in-mouth batter and creamy frosting layers.
Russian honey cake requires plenty of attention to detail and a little patience, but the end result is so worth the wait.
It tastes so good in fact, the woman who the cake was made for, wife of Alexander I Empress Elizabeth Alexeievna, instantly fell in love with it, despite her well-known disdain for any recipe with honey in it.
The chef who made the dessert for her was blissfully unaware of this, and ended up serving it to her, thankfully, without consequence!
Alexeievna played a key role in making this cake wildly popular throughout Soviet-era Russia, and today it remains a much-loved dessert in many countries.
11-Layer Russian Honey Cake Recipe (Medovik)
Ingredients
For the cake layers:
- 3 eggs
- 1 and 1/4 cup 250 grams sugar
- 3 tbsp honey
- 1 tbsp baking soda
- 3 tbsp unsalted butter
- 3 cups 385 grams all-purpose flour (plain flour)
For the frosting/filling:
- 1000 ml creme fraiche or sour cream
- 1 cup 200 grams sugar
- 1 can 14 oz or 397 ml standard size condensed milk
For the toppings:
- Fresh berries of your choice strawberries, pitted cherries, raspberries
Instructions
- Making the Honey Cake (Medovik) FrostingIn a big bowl, mix 1000 ml (35 oz) of full-fat sour cream or crème fraîche with 200 grams (1 cup) of sugar and 1 can of condensed milk (397 grams or 14 oz).
- Once you’ve mixed the 3 ingredients, now cover the bowl and refrigerate it until you’re ready to frost the cake.
- Making the Honey Cake (Medovik) LayersFirst, in a small bowl, melt 3 tbsp of unsalted butter and set aside.
- In a mixing metal bowl, beat 3 eggs and 1 and 1/4cup (250 grams) sugar.
- Put the mixture in your double boiler, and, while stirring with a wooden spoon, add 1 tbsp of baking soda (not baking powder!), the 3 tbsp of melted butter, and 3 tbsp of honey. Mix it all very well.
- After that, start incorporating the 3 cups of flour (1/2 cup of flour at a time) while mixing well with the wooden spoon.
- This whole process shouldn't take more than 5-6 minutes.
- After that, pull the dough off the double-boiler and let it cool down.
- Split it into 12 equal pieces, and, using a rolling pin, roll each one into a very thin layer.
- Cut it using a cake ring/cake pan (the size is up to you). Don’t throw away the scraps.
- Put the layer and the scraps on a baking sheet or cookie sheet, pierce the layer with a fork a few times (so it doesn’t puff up), and bake for 3-4 minutes in the oven at 390 degrees Fahrenheit (200 degrees Celsius) until the layer looks golden-brown.
- Repeat with the rest of the layers until you’ve baked all 12, stacking them on top of each other. Set them aside to rest and completely cool down.
- Assembling the Honey Cake (Medovik)Before you start assembling the cake, make sure the layers have cooled down completely!
- Spread about 6 tablespoons of frosting on the first layer, distributing it equally and covering the whole layer. Add the second layer on top of the frosting and repeat, using a total of 11 layers and saving 1 for later. You should also have a little leftover frosting saved for later.
- Once you’ve assembled the cake, cover it with some cling film and refrigerate it at least for a few hours or overnight if possible before decorating it.
- Honey Cake (Medovik) DecoratingAfter the cake rested overnight (in the refrigerator), it’s time to decorate the cake.
- Remember the scraps we cooked with our layers? Well, you should have a bowl of these. Add your 1 saved layer to this. Put it all in a Ziploc bag and using a rolling pin, crush them to crumbs.
- Take the cake and cover the cake the top and sides with the remaining frosting and beautiful golden crumbs.
- Optional: Decorate the top of the cake with fruit such as raspberries, pitted cherries, or strawberries.
You Might Also Like to Read
- Popular Russian Foods You Need To Try
- Traditional Moldovan Foods To Try
- Popular Romanian Foods To Try
Save and Pin for Later
Keep this Russian honey cake recipe, also known as medovik, for safekeeping by saving this article to one of your Pinterest boards.

Author: Doina Ieseanu Johnson is a content writer and strategist, who has traveled to over 30 countries. She is deeply passionate about world cuisine and loves to recreate recipes and foods she has tried from all over the world in her humble home kitchen.


My Mum used to make something quite similar it was called a Mikado known as a Russian wedding cake. I used to get excited as a kid when mum was going to bake the pastry layer there was 28 layers dinner plate size and 20 layer side plate.tht would sit in an air tight container for several days, I remember loads of butter being whipped with castor and icing sugar and cognac, spreading was a bit of a nightmare but worth it. When both down, she’d cover in crumb, but then they would be very well wrapped in glad wrap the frozen for a minute of three months and upto no more than six months. It was the freezing that made it all kind of gell together it was the most delicious and the richest cake ever, my great grandee gave Mum the recipe back in late ’60s and Mum handed it to me in the early ’80’s sad to to I’ve only made it twice. This is True Russian traditional cake. This was handed down to the bride and oldest daughter for generations and that’s my Russian side of family. Thankyou for sharing this alot of wonderful childhood memories came flooding back…💫💜
The frosting is not stiffening! Any tips
The sour cream ‘frosting’ has to be soft, creamy, and spreadable when assembling the cake. Afterward, the cake needs to be refrigerated overnight so that the cake layers absorb the frosting and soften. The sour cream mixture in-between the layers will stiffen slightly in the refrigerator but still remain much softer and creamier than a traditional buttercream or cream cheese frosting.